How to Incubate Eggs at Home in Kenya
Incubating eggs at home is an exciting way to expand your poultry business or start your own backyard flock. With the right preparation, equipment, and care, even small-scale farmers can achieve excellent hatch rates. This step-by-step guide explains exactly how to incubate eggs at home in Kenya, from choosing eggs to caring for chicks after hatching
1. Choose Fertile Eggs and Prepare Before Setting
Start by selecting clean, undamaged fertile eggs. Avoid cracked or misshapen eggs, as they rarely hatch well. Fertile eggs should be less than 10 days old and stored in a cool, well-ventilated place before incubation. Do not wash the eggs, since washing removes the natural coating that protects the embryo. When storing, keep the pointed end facing downward and turn the eggs once daily to prevent the yolk from sticking to the shell membrane.
2. Equipment You Need
To incubate eggs successfully at home, you’ll need:
* A reliable incubator (manual or automatic)
* A thermometer and hygrometer to measure temperature and humidity
* Clean water trays for humidity control
* An egg tray or rack
* A candling light or bright torch
Manual incubators require you to turn the eggs several times daily, while automatic incubators handle turning for you.
3. Ideal Temperature and Humidity Settings
Keep your incubator at a steady temperature of about 37.5°C to 37.8°C (99.5°F–100°F). Fluctuating temperatures can harm embryo development. Place your incubator in a stable room away from direct sunlight and drafts.
Humidity is just as important. Maintain 50–55% humidity during the first 18 days, then increase to 65–75% in the final three days (lockdown period). This helps chicks hatch easily by keeping the shell membranes soft. Avoid opening the incubator during lockdown to prevent heat and humidity loss.
4. Setting the Eggs (Day 0)
Before placing eggs, clean and test-run your incubator for 24 hours to ensure stable conditions. Place the eggs with the pointed end facing down or slightly tilted. Mark each side with a pencil (“A” on one side and “B” on the other) to help track turning. Record the date you start incubation — chicken eggs take roughly 21 days to hatch.
5. Turning Schedule and Technique
Turn your eggs at least three times daily, but ideally five times, to ensure even heat distribution and prevent the embryo from sticking to the shell. Stop turning three days before the expected hatch date (around day 18). Automatic incubators make this process easier, but if you turn eggs manually, do it gently and consistently.
6. Candling to Check Development
Candling helps you see which eggs are developing and which ones should be removed.
* First candling: Day 7 – you should see blood vessels and a small dark spot.
* Second candling: Day 14 – the embryo should have grown and moved.
Discard any clear or non-developing eggs. Use a bright torch in a dark room to candle properly.
7. Ventilation and Airflow
Good airflow ensures that embryos get enough oxygen and that carbon dioxide doesn’t build up. Keep incubator vents slightly open throughout the process. However, during lockdown, limit airflow changes to prevent humidity from dropping.
8. Lockdown and Hatching (Days 18–21)
Stop turning eggs and increase humidity to around 70%. This helps soften the eggshells and makes it easier for chicks to break through. Avoid opening the incubator unnecessarily during this stage. Hatching usually starts with a small “pip” on day 20, followed by full hatching within 24 hours.
Once chicks hatch, leave them inside the incubator until they are dry and fluffy — usually within 6–8 hours.
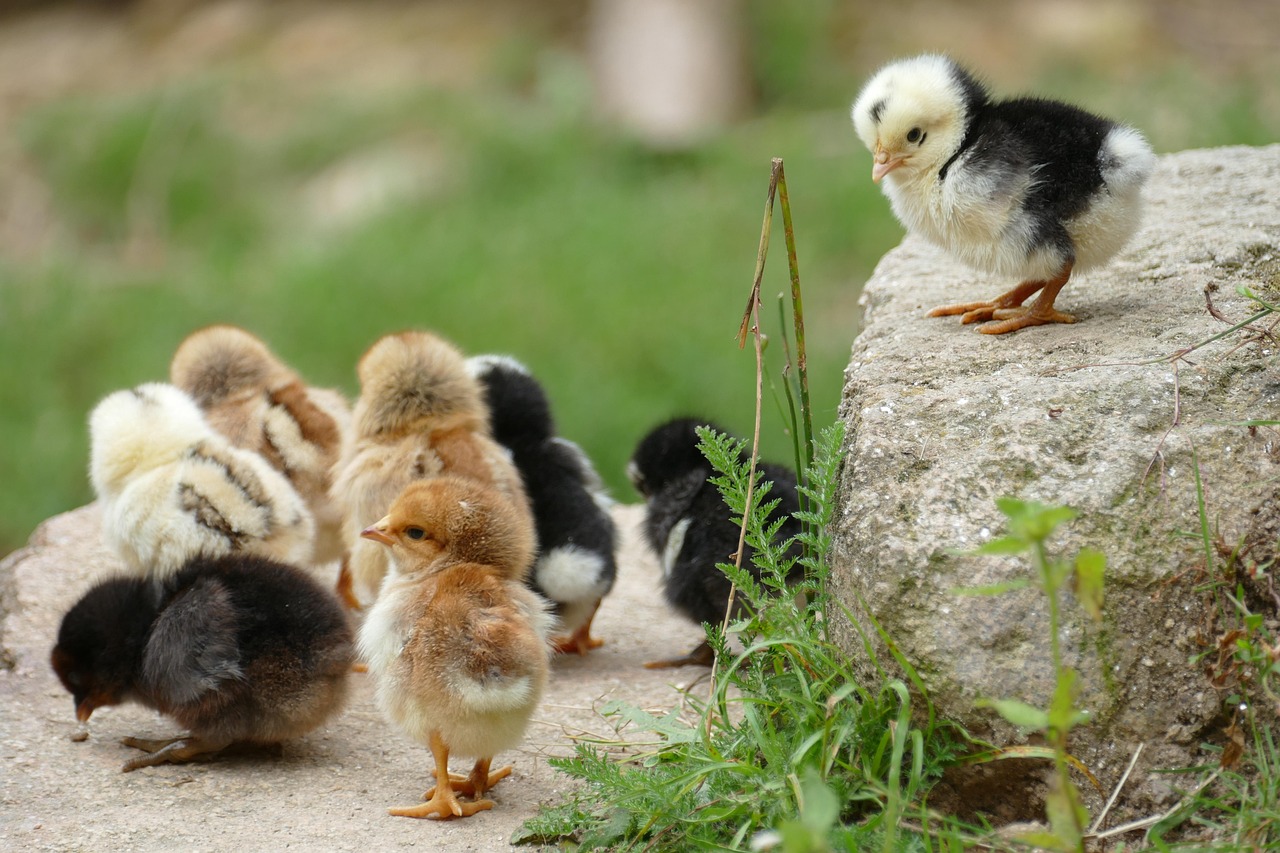
9. Caring for Chicks After Hatch
Transfer chicks to a clean brooder with a heat source. Maintain brooder temperature at 32–35°C for the first week, then reduce it gradually by 2–3°C each week as chicks grow. Provide chick starter feed, clean water, and dry bedding. Make sure the brooder is well-ventilated and protected from drafts and predators.
10. Practical Tips for Kenyan Farmers
* Use fertile eggs from healthy, well-fed parent stock.
* Keep the incubator in a room with a stable ambient temperature — not too hot or cold.
* Monitor humidity levels closely, especially in hot or dry areas.
* Keep water trays filled with clean water throughout incubation.
* Avoid overloading the incubator beyond its recommended capacity.
11. Troubleshooting Common Problems
*Low hatch rate ;Check temperature stability and fertility of eggs.
* Deformed chicks:Could be due to poor turning or fluctuating temperatures.
* Sticky chicks or unhatched embryos: Often caused by low humidity during lockdown.
* Bad smell or moldy eggs: Remove spoiled eggs immediately to prevent contamination.
12. Summary
Learning how to incubate eggs at home in Kenya is a rewarding process that gives you control over your flock’s growth. Maintain proper temperature, humidity, and hygiene throughout the 21-day cycle, and handle eggs with care at every stage. Consistency is the secret to high hatch rates.
Call to Action:
Ready to raise your own chicks? Start today with the right incubation setup and quality equipment. Visit Mkulima Jovial’s online store to get reliable poultry accessories like drinkers and other essential supplies for your brooding chicks.