How to Set Up a Milking Shed on a Small Dairy Farm in Kenya
A well-designed milking shed is essential for maintaining milk hygiene, improving efficiency, and keeping cows comfortable during milking. For small-scale dairy farmers in Kenya, setting up a proper milking shed doesn’t have to be expensive. With the right layout, materials, and equipment, you can build a clean, functional space that supports daily operations and boosts milk quality.
Why a Milking Shed is Important
A milking shed provides a clean and controlled environment where cows can be milked safely. It reduces the risk of contamination, minimizes stress for the animals, and makes milking more efficient. In Kenya’s warm and dusty climate, an enclosed or semi-enclosed milking area also protects milk from dust, flies, and other contaminants.
Step 1: Choose the Right Location
Select a well-drained, slightly elevated site near your cows’ resting area. Avoid swampy or muddy spots that can lead to poor hygiene and water stagnation. The milking shed should be easily accessible from the feeding and housing areas to reduce animal stress and walking distance.
Step 2: Design a Simple, Functional Layout
For small dairy farms, the milking shed should be compact but spacious enough to accommodate your current and future herd. A good design includes:
* Holding area: Where cows wait before milking.
* Milking area: The main section where milking takes place.
* Storage area: For keeping equipment like buckets, filters, and disinfectants.
* Waste outlet: For proper drainage and disposal of wastewater.
Plan the layout to allow easy cow movement from the holding area to the milking section and out again without congestion.
Step 3: Construct with Locally Available Materials
You can build the milking shed using affordable materials such as timber, iron sheets, and concrete. The floor should be made of smooth concrete with a gentle slope (about 2–3%) for proper drainage. Avoid slippery surfaces to prevent cow injuries. The walls can be half-height to improve ventilation, and the roof should be high enough to keep the shed cool.
Step 4: Provide Proper Ventilation and Lighting
Good airflow helps remove moisture and odors, keeping the shed fresh. Install vents or open sidewalls to allow free air movement. Natural lighting is ideal, but you can also include electric bulbs if you plan to milk early in the morning or late in the evening.
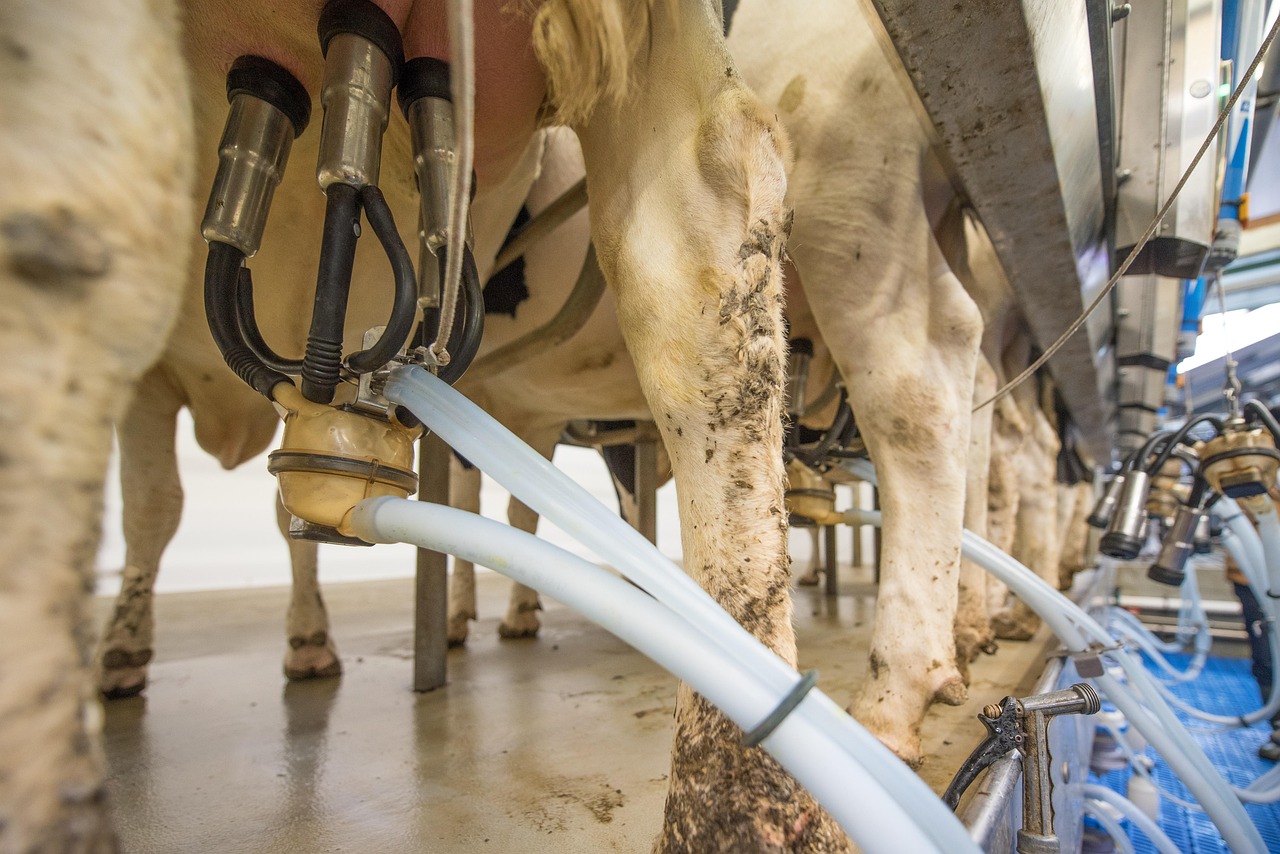
Step 5: Install Clean Water and Milking Equipment
Water is essential for cleaning the udder, equipment, and shed. Have a clean water source nearby for easy access. Equip the milking shed with buckets, strainers, and milking machines if possible. After each session, wash and disinfect all equipment to prevent milk contamination.
Step 6: Ensure Good Drainage
Drainage is one of the most overlooked aspects of dairy shed design. Ensure wastewater flows into a soak pit or drainage channel away from the cowshed. Stagnant water attracts flies and causes slippery surfaces that can harm both cows and milkers.
Step 7: Focus on Hygiene and Biosecurity
Before and after each milking session, clean the floor and equipment thoroughly. Always wash your hands and the cow’s udder before milking. Keep the milking area dry and disinfected to prevent bacterial growth. Regular cleaning helps you maintain high milk quality and ensures consumer safety.
Step 8: Make Milking Comfortable for the Cows
Cows should feel calm during milking. Handle them gently and avoid loud noises or sudden movements. Consistent routines also help cows adapt better. Provide anti-suckling tools for young calves to prevent them from interfering during milking. For example, you can use the Calf Suckling Preventer from Mkulima Jovial, designed to stop calves from suckling milk from others while still allowing normal feeding.
Step 9: Plan for Waste Management
Collect cow dung and urine for use as manure or biogas production. Proper waste management keeps the milking shed clean and reduces odors and flies. Manure can also serve as an additional source of income when sold to crop farmers.
Step 10: Maintain and Inspect Regularly
Regular inspection ensures your milking shed remains in good condition. Check the roof, floor, and drainage system frequently. Replace worn-out parts, repaint wooden structures, and ensure equipment is always clean and functional.
Bonus Tips for Small Dairy Farmers in Kenya
* Keep your milking times consistent every day to improve milk yield.
* Separate the milking area from where cows eat or rest.
* Always store milk in clean containers and cool it immediately after milking.
* Train your workers on proper milking hygiene and cow handling.
Conclusion
Setting up a milking shed on a small dairy farm in Kenya doesn’t have to be expensive or complicated. With good planning, proper drainage, clean water, and basic equipment, you can create a productive and hygienic environment for your cows. Prioritize cow comfort, cleanliness, and routine maintenance to ensure quality milk production every day. By combining good shed design with modern tools like the Calf Suckling Preventer from Mkulima Jovial, you can make your dairy farm more efficient and profitable for the long term.